Index
- Lesson 1: CryptoZombies
- Chapter 2 Contracts
- Chapter 3: State Variables & Integers
- Chapter 4: Math Operations
- Chapter 5: Structs
- Chapter 6: Arrays
- Chapter 7: Function Declarations
- Chapter 8: Working With Structs and Arrays
- Chapter 9: Private / Public Functions
- Chapter 10: More on Functions
- Chapter 11: Keccak256 and Typecasting
- Chapter 12: Putting It Together
- Chapter 13: Events
- Chapter 14: Web3.js
- Lesson 2: Zombies Attack Their Victims
- Chapter 2: Mappings and Addresses
- Chapter 3: Msg.sender
- Chapter 4: Require
- Chapter 5: Inheritance
- Chapter 6: Import
- Chapter 7: Storage vs Memory
- Chapter 8: Zombie DNA
- Chapter 9: More on Function Visibility
- Chapter 10: What Do Zombies Eat?
- Chapter 11: Using an Interface
- Chapter 12: Handling Multiple Return Values
- Chapter 13: Bonus: Kitty Genes
- Chapter 14: Wrapping It Up
- Lesson 3: Advanced Solidity Concepts
- Chapter 2: Ownable Contracts
- Chapter 3: onlyOwner Function Modifier
- Chapter 4: Gas
- Chapter 5: Time Units
- Chapter 6: Zombie Cooldowns
- Chapter 7: Public Functions & Security
- Chapter 8: More on Function Modifiers
- Chapter 9: Zombie Modifiers
- Chapter 10: Saving Gas With 'View' Functions
- Chapter 11: Storage is Expensive
- Chapter 12: For Loops
- Chapter 13: Wrapping It Up
- Lesson 4: Zombie Battle System
- Chapter 1: Payable
- Chapter 2: Withdraws
- Chapter 3: Zombie Battles
- Chapter 4: Random Numbers
- Chapter 5: Zombie Fightin'
- Chapter 6: Refactoring Common Logic
- Chapter 7: More Refactoring
- Chapter 8: Back to Attack!
- Chapter 9: Zombie Wins and Losses
- Chapter 10: Zombie Victory 😄
- Chapter 11: Zombie Loss 😞
- Lesson 5: ERC721 & Crypto-Collectibles
- Chapter 1: Tokens on Ethereum
- Chapter 2: ERC721 Standard, Multiple Inheritance
- Chapter 3: balanceOf & ownerOf
- Chapter 4: Refactoring
- Chapter 5: ERC721: Transfer Logic
- Chapter 6: ERC721: Transfer Cont'd
- Chapter 7: ERC721: Approve
- Chapter 8: ERC721: Approve
- Chapter 9: Preventing Overflows
- Chapter 10: SafeMath Part 2
- Chapter 11: SafeMath Part 3
- Chapter 12: SafeMath Part 4
- Chapter 13: Comments
- Chapter 14: Wrapping It Up
- App Front-ends & Web3.js
- Chapter 1: Intro to Web3.js
- Chapter 2: Web3 Providers
- Chapter 3: Talking to Contracts
- Chapter 4: Calling Contract Functions
- Chapter 5: Metamask & Accounts
- Chapter 6: Displaying our Zombie Army
- Chapter 7: Sending Transactions
- Chapter 8: Calling Payable Functions
- Chapter 9: Subscribing to Events
- Chapter 10: Wrapping It Up
Chapter 14: Wrapping It Up
Chapter 14: Wrapping It Up
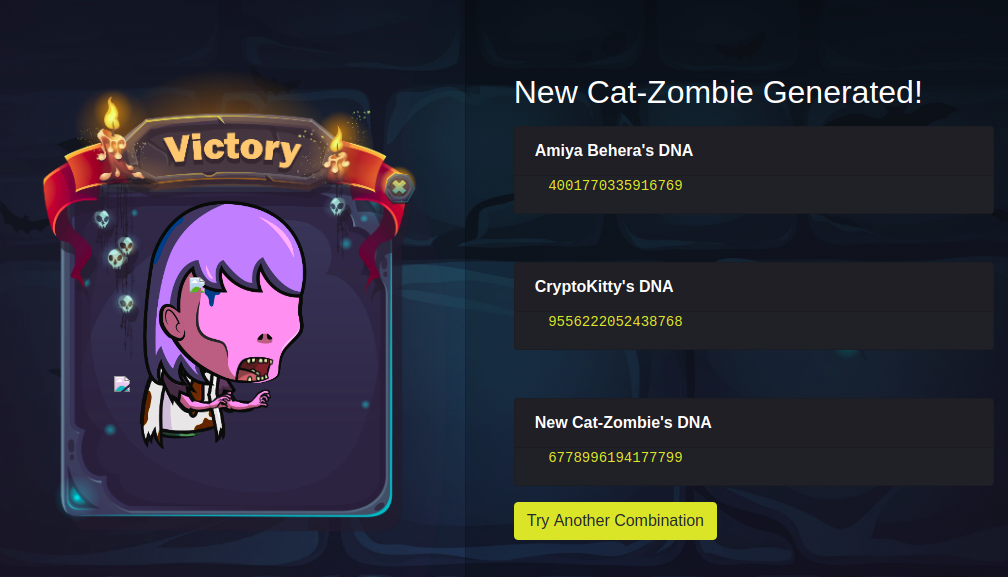
That's it, you've completed lesson 2!
You can check out the demo to the right to see it in action. Go ahead, I know you can't wait until the bottom of this page 😉. Click a kitty to attack, and see the new kitty zombie you get!
Javascript implementation
Once we're ready to deploy this contract to Ethereum we'll just compile and deploy
ZombieFeeding — since this contract is our final contract that inherits from ZombieFactory, and has access to all the public methods in both contracts.Let's look at an example of interacting with our deployed contract using Javascript and web3.js:
var abi = /* abi generated by the compiler */
var ZombieFeedingContract = web3.eth.contract(abi)
var contractAddress = /* our contract address on Ethereum after deploying */
var ZombieFeeding = ZombieFeedingContract.at(contractAddress)
// Assuming we have our zombie's ID and the kitty ID we want to attack
let zombieId = 1;
let kittyId = 1;
// To get the CryptoKitty's image, we need to query their web API. This
// information isn't stored on the blockchain, just their webserver.
// If everything was stored on a blockchain, we wouldn't have to worry
// about the server going down, them changing their API, or the company
// blocking us from loading their assets if they don't like our zombie game ;)
let apiUrl = "https://api.cryptokitties.co/kitties/" + kittyId
$.get(apiUrl, function(data) {
let imgUrl = data.image_url
// do something to display the image
})
// When the user clicks on a kitty:
$(".kittyImage").click(function(e) {
// Call our contract's `feedOnKitty` method
ZombieFeeding.feedOnKitty(zombieId, kittyId)
})
// Listen for a NewZombie event from our contract so we can display it:
ZombieFactory.NewZombie(function(error, result) {
if (error) return
// This function will display the zombie, like in lesson 1:
generateZombie(result.zombieId, result.name, result.dna)
})
Give it a try!
Select the kitty you want to feed on. Your zombie's DNA and the kitty's DNA will combine, and you'll get a new zombie in your army!
Notice those cute cat legs on your new zombie? That's our final
99 digits of DNA at work 😉You can start over and try again if you want. When you get a kitty zombie you're happy with (you only get to keep one), go ahead and proceed to the next chapter to complete lesson 2!